Introduction
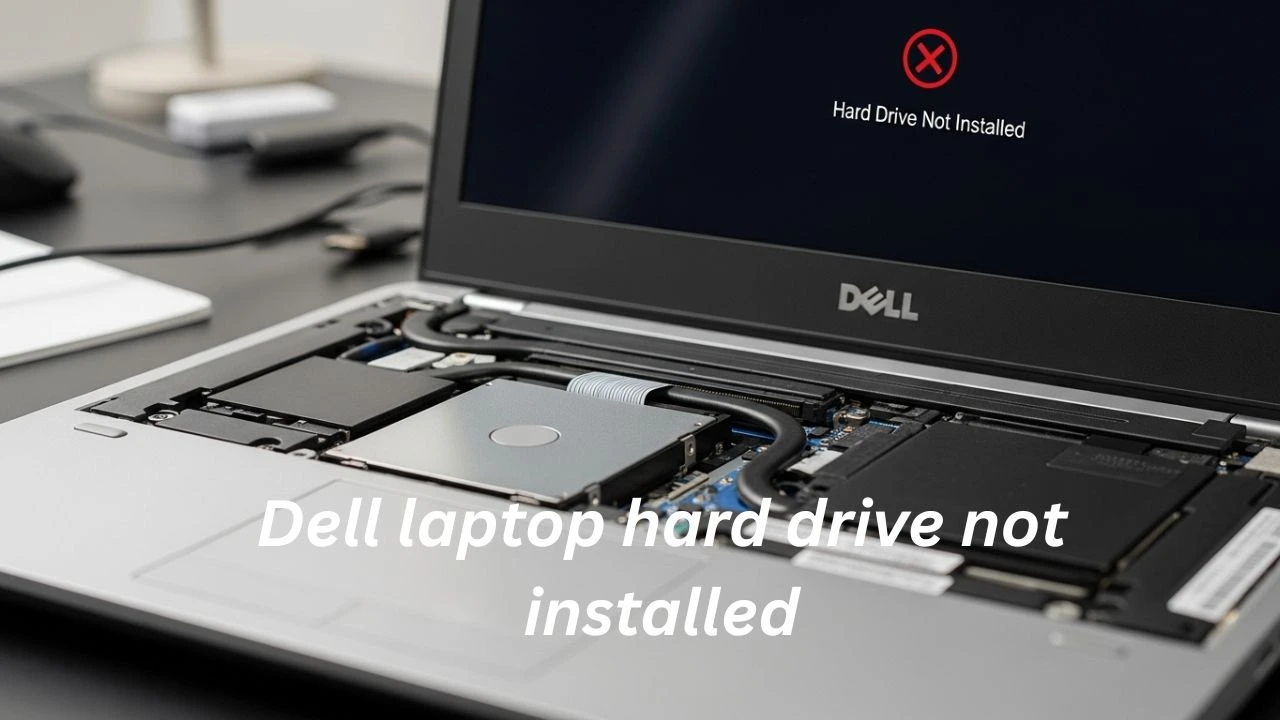
That “Dell Laptop hard drive not installed” message might pop up on your Inspiron, XPS, or Latitude – sudden, unsettling. It hits hard, like something’s broken beyond repair. Truth? Usually just means the BIOS or UEFI isn’t seeing the drive, be it SSD or HDD. Detection fails more than the actual death of hardware. Step-by-step checks fix most cases without drama.
Some newer Dell models from 2026 use advanced drives like SATA, NVMe, or PCIe SSDs. Speedy operation comes naturally with these setups – reliability tags along too. Even so, without proper BIOS settings, things might stall. Physical links need attention just as much as software ones.
Explanation
In this exhaustive guide, you will discover:
- The root causes of the “hard drive not installed” issue
- A detailed step-by-step resolution plan from simple to advanced
- Dell model-specific advice for Inspiron, XPS, and Latitude series
- Data protection and recovery strategies
- Frequently asked questions about drive errors
- Precautionary measures to prevent future failures
When this piece ends, everything needed to spot the issue, work through fixes, and get your Dell laptop running fully again will be clear. You’ll know exactly what steps make sense once confusion fades into understanding. Clarity comes not from promises but from straight details laid out one after another. The machine’s behavior shifts when the right moves are made. Answers appear where frustration once lived. What seemed broken finds a path back to normal.
Understanding What “Hard Drive Not Installed” Really Means
Finding a “Hard Drive Not Installed” message on a Dell laptop? That signal means the machine’s internal software has spotted an issue – possibly the drive is missing, disconnected, or failing to respond. Sometimes it wakes up only after a restart. Other times, the connection slips loose inside. A faulty cable might be whispering nonsense to the motherboard. Rarely, the storage unit itself gives out without warning. Each situation nudges the screen toward that same alert.
- Failing now, the storage device won’t transmit a correct signal to the motherboard. Without warning, communication breaks down between them. Suddenly, the link drops each time it tries to respond. Not working right, it sends errors instead of data. Mid-process, the connection cuts off every single attempt
- A crack isn’t always visible on the outside, yet something inside might not work right. Sometimes it looks fine, though performance tells a different story. What seems okay at first glance might fail when used. Appearance does little to prove function here. Just because it hasn’t broken apart doesn’t mean it runs properly
- Faults like this don’t always mean the entire drive has stopped working
- A glitch might come from the device itself, not just programs running on it. Sometimes the issue lives inside the code that runs beneath the surface. Other times, what you installed lately holds the blame
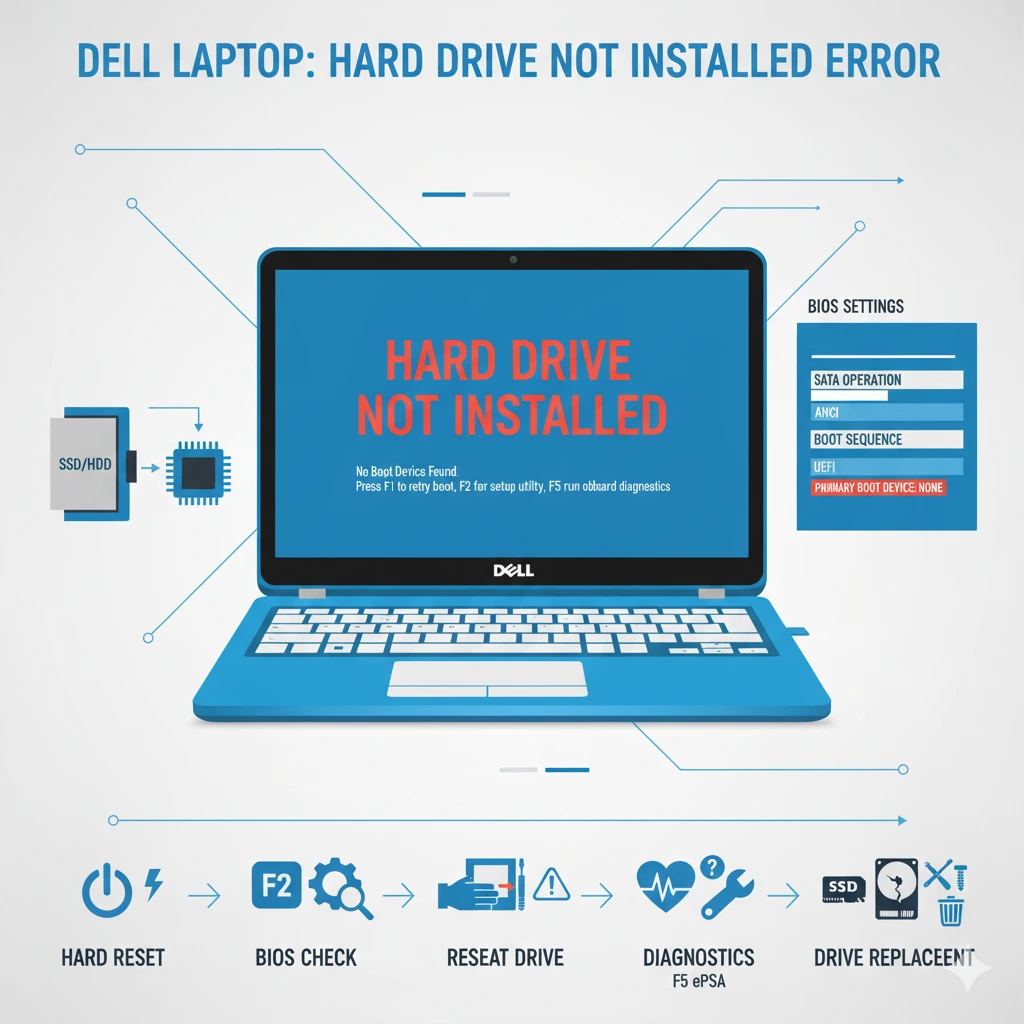
The underlying triggers for this error include:
- Physical connection problems or loose hardware
- Incorrect BIOS or UEFI settings
- SSD/HDD degradation or failure
- Operating system corruption or bootloader issues
This guide walks through every situation, step by step, offering clear fixes along with ways to stay protected. It covers each case carefully, using practical steps instead of guesses, helping you respond effectively when things go off track.
Common Causes Behind “Hard Drive Not Installed”
Physical Connection & Interface Problems
Faulty cables often cause drives to go unnoticed by computers.
| Issue | Description | Recommended Action |
| Loose Connector | Storage device not properly seated | Reseat the drive securely |
| Damaged Interface Cable | SATA/NVMe connector bent or frayed | Replace the cable or the connector |
| Incorrect Slot Placement | Drive is installed in the wrong slot | Ensure the drive is seated in the correct slot per the user manual |
Symptoms of Physical Issues:
- Intermittent recognition of the drive
- Sporadic laptop freezes or failures to boot
- BIOS/UEFI shows no drive or occasionally fails to detect
Start by opening the laptop lid slowly, using the Dell guide as a reference. With SATA drives, make sure the plug clicks completely into place – don’t leave it loose. When handling an NVMe SSD, lay it straight into the M.2 bay before tightening the fastener. Never push too hard on ports; they break easily under pressure.
BIOS / UEFI Configuration Errors
Faulty settings in the system’s inner software might hide a working drive. Though it runs fine, confusion in its coding keeps it unseen.
Common BIOS Issues:
- SATA operation mode set incorrectly (RAID vs AHCI)
- The boot sequence does not include the storage drive
- Frozen storage checks stay off by design. Hidden settings block recognition automatically
- Outdated BIOS versions or firmware glitches
Faults like these stop the OS from seeing the drive despite it being plugged in properly.
Failing or Faulty Hardware
Failing parts happen eventually, no matter what. Common examples look like this:
- SSD/HDD reaching end-of-life cycles
- Controller chip failure on the motherboard
- NVMe slot malfunction due to physical damage
When tests keep showing hardware glitches or signs of failing drives, swapping them out usually makes sense.
Operating System or Bootloader Corruption
When storage works fine, damaged system files might still stop Windows from starting up. Cases like these happen when critical parts of the OS are altered unexpectedly. A single broken component can freeze the entire launch process. Without intact core files, the operating system stumbles at the first step. Strange glitches appear even if hardware tests show everything runs smoothly. Faulty updates sometimes leave key elements unreadable. System errors pop up before login screens ever load.
- Damaged partition tables
- Broken boot configuration data (BCD)
- Corrupted operating system files
Even then, the computer might see the disk through BIOS yet fail to start Windows properly.
Step-by-Step Fixes: From Simple to Advanced
A few steps come first when getting ready to make changes. Stay clear of risks by taking care early. A moment spent checking helps avoid trouble later. Move forward only after looking around carefully. Safety shows up best before anything breaks.
- Backup any recoverable data
- If it is doable, take out the battery. Power down by cutting off the main supply first
- Use an anti-static wrist strap
- Start where the area is clear. A level spot works best when it does not move. Work happens more smoothly if the base stays steady. Flat matters just as much as stillness. Clean means nothing interferes later on
Perform a Hard Reset
Most times, effectiveness hides in what’s basic.
Steps:
- Power off the laptop
- Disconnect all power sources
- Remove the battery if detachable
- If you can take it out, pull the battery free
- Hold down the power button, keep it pressed between half a minute and one full minute
- Boot the laptop
Why It Works:
Startbyremovingleftoverpowersothesystemcanclearitscircuits. Hardware partsthenrestarthowtheytalktooneanother, quietly at first. After that, the startup checker updates what it sees during boot.
When your laptop sometimes fails to see the drive, this works well.
Verify BIOS Settings
When cables plug in tight, peek inside BIOS settings for wrong picks.
Accessing BIOS:
- When cables plug in tight, peek inside BIOS settings for wrong picks.
Key BIOS Settings to Check:
- Drive Detection: Ensure SSD/HDD is visible
- Most SSDs work best when SATA mode uses AHCI. When setup supports it, RAID takes over instead
- Boot Sequence: Confirm the drive is prioritized or first in boot order
- Hit reset if things go sideways. Some BIOS versions include a way to reload factory presets automatically. Check the menu under setup tools. This wipes custom tweaks without asking twice. Defaults return when triggered manually. Each brand hides it somewhere different
A laptop made recently? It might need extra help inside the BIOS if it uses an NVMe drive. Check that the system can actually see the NVMe hardware before moving forward.
Run Dell Diagnostics
Some Dell laptops come with tools inside that check hardware by themselves. These checks happen without needing extra software. Built right into the system, they run tests when needed. Automatic scans help spot issues before problems grow larger. Hardware status gets reviewed quickly using these features.
Procedure:
- Power on the laptop
- Press F12 immediately
- Select Diagnostics
- Run ePSA / SupportAssist
Handling Error Codes:
- Note down diagnostic codes
- Search Dell Support with your service tag
- Follow Dell-recommended resolutions
Something isn’t working – it could be the machine itself or just how it talks to others.
Reseat Your SSD/HDD Connections
Faulty connections often stop drives from being recognized properly.
For SATA SSD/HDD:
- Remove the back panel
- Unscrew the drive bracket
- Unplug the SATA connector carefully
- Clean the connector and slot, inspect for dust or damage
- Reinsert securely
For NVMe SSD:
- Turn the fastening bolt counterclockwise until it comes free
- Slide out the SSD gently
- If needed, clear the slot using compressed air
- Slide the SSD back into place. Push it gently until it clicks. Line up the screw hole carefully. Tighten the fastener without forcing it
A wrong tilt when fitting an NVMe drive might harm the device or connector. Take care to line it up straight – force leads to problems.
Update BIOS & Drivers
Firmware that’s out of date might skip recognizing newer drives.
Updating Dell BIOS:
- Start by typing the Service Tag of your laptop
- Download the latest BIOS version
- Freshen things up using Windows. Or go another way – plug in a USB
Drivers to Update:
- Intel Rapid Storage Technology
- AHCI/NVMe drivers
- Chipset drivers
Fresh firmware helps the system spot both NVMe and SATA drives more reliably – useful when adding new storage after buying the device. Sometimes older versions miss newer models entirely, leaving users confused until a patch rolls out.
Repair Boot or System Files
Beyond the BIOS seeing the drive, failure to start Windows might need a fix. Though the hardware shows up, getting stuck at startup could mean repairs are due.
Windows Recovery USB Needed
Steps:
- Boot from USB
- Start by repairing your computer first. After that, open Command Prompt from the menu shown
- Run the following:
/fixmbr
bootrec /fixboot
bootrec /rebuildbcd
Purpose:
- Fix the main boot section of your hard drive
- Fix bootloader
- Restore boot configuration
Keep in mind – this works only when the BIOS detects the drive.
Replace the Drive
If tests show the machine is broken:
Warning Lights Tire Wear Poor Handling Slow Acceleration Unusual Noises
- SSD/HDD shows repeated errors
- SMART data indicates a critical failure
- Drive fails health or I/O tests
Replacement Steps:
- Purchase a compatible SSD/HDD
- Last time you moved files, maybe it felt slow. Still, copying them outside keeps a spare close. Try putting the drive into another case instead. That way, everything stays put while you switch machines. Sometimes one step prevents future headaches
- Install the new drive
- Reinstall Windows
Got a spare moment? Try cloning tools such as Macrium Reflect or AOMEI Backupper for smoother data transfers.
Model-Specific Notes (Inspiron / XPS / Latitude)
| Model | Common Problems | Best Practices |
| Inspiron | SATA detection quirks, loose connectors | Update BIOS, reseat drive |
| XPS | NVMe SSD not detected | Use M.2 slot #1, update BIOS |
| Latitude | Enterprise BIOS restrictions | Enable storage, verify RAID settings |
Checking Hard Drive Health
Tools:
- CrystalDiskInfo: Displays SMART data, health %, temperature, and errors
- BIOS SMART Check: Quick check without booting Windows
Critical Health Alerts:
- Increasing reallocated sectors
- Elevated temperature
- Sudden drop in health %
- Frequent I/O errors
Drives with health <80% should be replaced promptly.
Data Backup & Recovery
Backup Options:
- Use an external USB enclosure
- Connect to another PC
- Copy critical files before attempting repairs
Cloning Tools:
- Macrium Reflect
- AOMEI Backupper
Professional Recovery:
- If the drive fails, consult data recovery specialists
- Avoid opening the SSD/HDD physically
Pros & Cons of Each Fix
| Fix | Advantages | Limitations |
| Hard Reset | Quick, easy | Won’t fix hardware damage |
| BIOS Check | Resolves configuration errors | Requires firmware familiarity |
| Dell Diagnostics | Generates error codes | Cannot repair hardware |
| Reseat Drive | Fixes connection issues | Risky if mishandled |
| BIOS/Driver Update | Resolves firmware bugs | Risky if power interrupted |
| Boot Repair | Resolves OS issues | Only addresses software |
| Drive Replacement | Permanent hardware fix | Costly + data migration needed |
FAQs
A1: Only via external storage or network boot. Most Windows installs require internal storage.
A2: Suggests loose connection, faulty cable, or BIOS caching issue.
A3: Typically, yes if under warranty and no physical damage. Verify with Dell Support
Conclusion
Something’s off when the Dell laptop says no hard drive installed. Most times, it’s just not seen by the machine. Start with loose wires, check what the computer sees at startup. Try built-in checks, freshen up internal software if needed. Tools made for fixing boot issues might help too. Many folks fix this without replacing anything.
Starting with any Inspiron model, even older ones, follow clear steps laid out one after another. A fresh restart comes first – sometimes checking system settings helps too. Move forward when needed, trying deeper fixes only once the basics are done. Swap drives or fix startup issues later on, but just if earlier actions fail.
Starting strong today means a Dell machine that keeps up, running smoothly when you need it most. Fixing small issues early helps avoid bigger problems later on. A little attention every now and then goes far, keeping everything working just right. Clean settings, updated systems – these keep the pace steady over time.